You might already know that Simple Email Service (SES) of Amazon Web Services (AWS) is great for sending emails, but did you know it’s just as powerful for receiving them? Whether you want to store emails for later processing, automatically trigger actions when an email arrives, or even forward emails to another address, AWS SES has you covered. And the best part? Setting it up is a breeze. In this blog, I’ll show you how to set up AWS SES to receive emails securely and reliably tailored to your needs. Let’s dive in!
Understanding the Basics
Receiving emails with AWS SES involves several components:
- SES Receiving Rules: These rules determine how AWS will handle incoming emails.
- Amazon S3: A storage service where you can store incoming emails.
- AWS Policies: A policy is an object in AWS that defines the permissions of an identity or resource when associated with it.
Setting Up SES for Receiving Emails
Configure identities for Receiving Emails
Before you can start receiving emails, you need to configure identities. In Amazon SES (Simple Email Service), an identity refers to a domain or email address you use to send or receive emails through SES. Before you can send an email, SES needs to verify that you own the identity, ensuring that emails sent from that identity are legitimate and authorized.
- Navigate to the AWS Management Console and open the SES service.
- Go to Configuration > Identities > Create identity in the SES console.
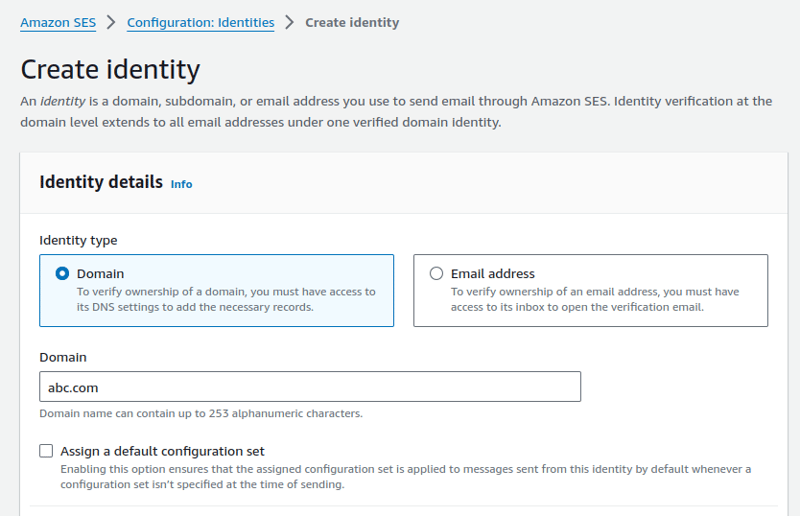
- Here, we will use the domain as the receiver. Fill in the domain name. You can skip the rest of the options.
- After creating it, aws will take you to the details page. Scroll down to the DNS records and add the required DNS records to your domain’s DNS settings.
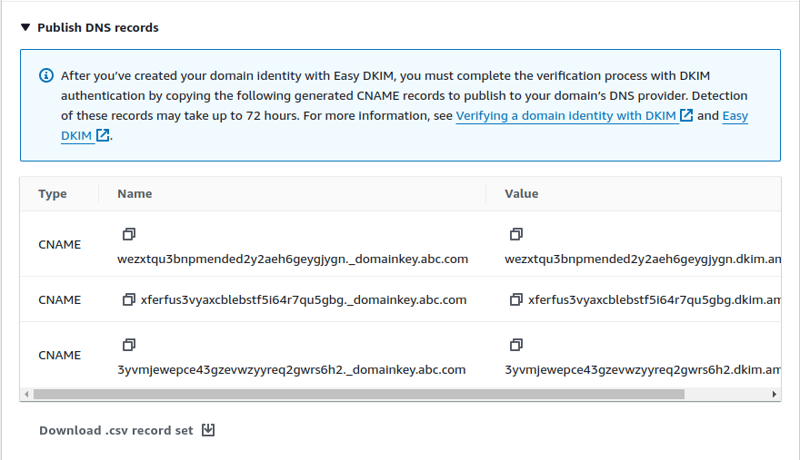
This process may take a few minutes. Once the domain is verified, you can use it to receive emails.
Create a Receipt Rule Set
A receipt rule set determines how SES handles incoming emails for your verified domain:
- In the SES console, navigate to Configuration > Email receiving, click “Create a Rule Set,” and name it appropriately.
- Navigate to the details of the rule set and click “Create Rule.”
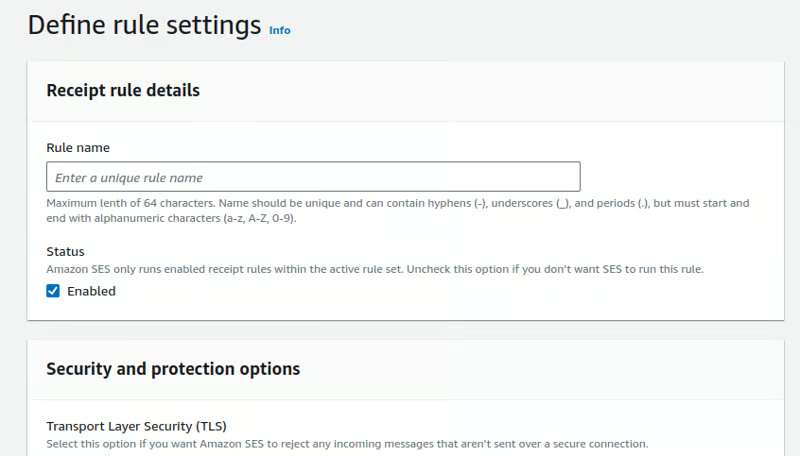
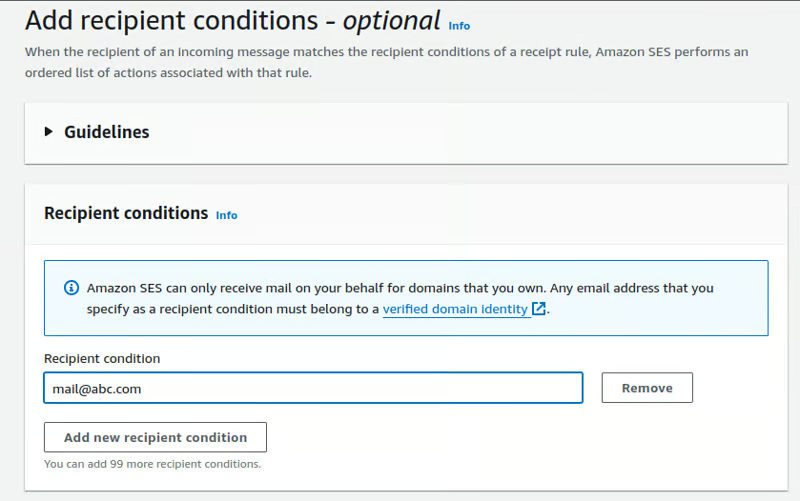
- Define conditions such as the recipient’s email address or domain. For example, if somebody sends mail to `mail@abc.com,` this rule will apply.
- Next, you have to create actions that will execute when you receive the email. You can specify multiple actions under each rule.
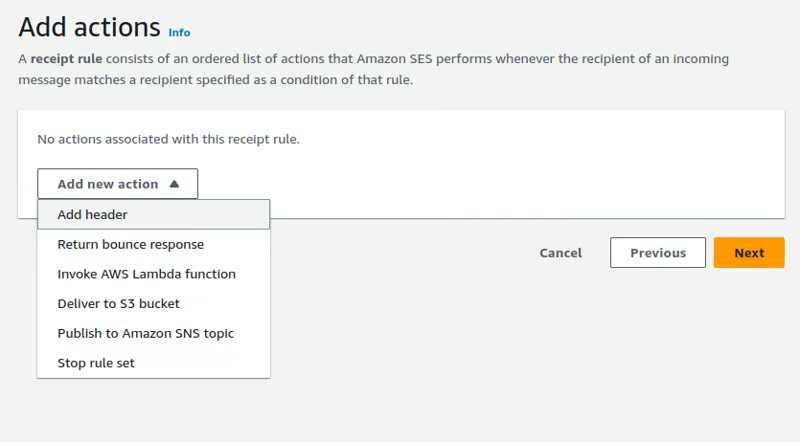
As you can see, we can use many actions. Let’s learn about them to see which one fits your purpose.
- S3 Action: By default, there is no mechanism for seeing the received email. However, by storing it in an Amazon S3 bucket, we can later view and reuse it.
- Lambda Action: Trigger an AWS Lambda function to process the email.
- SNS Action: Send a notification via Amazon SNS.
- Bounce or Reject: You can also bounce or reject emails if necessary.
After configuring the actions, save the rule. Activate the rule set to apply it to incoming emails.
Storing Emails in Amazon S3
Storing incoming emails in S3 is one of the most common use cases:
Set Up an S3 Bucket :
- Create a new S3 bucket or choose an existing one to store the emails.
- Modify the bucket’s policy using the policy below to ensure it has the correct permissions for SES to write emails to it.
					{
    "Version": "2012-10-17",
    "Statement": [
        {
            "Sid": "AllowSESPuts",
            "Effect": "Allow",
            "Principal": {
                "Service": "ses.amazonaws.com"
            },
            "Action": "s3:PutObject",
            "Resource": "arn:aws:s3:::<your-bucket>/*",
            "Condition": {
                "StringEquals": {
                    "AWS:SourceArn": "arn:aws:ses:<your-region>:<your-account-id>:receipt-rule-set/<you-rule-set>:receipt-rule/<your-rule-name>",
                    "AWS:SourceAccount": "<your-accound-id>"
                }
            }
        }
    ]
}
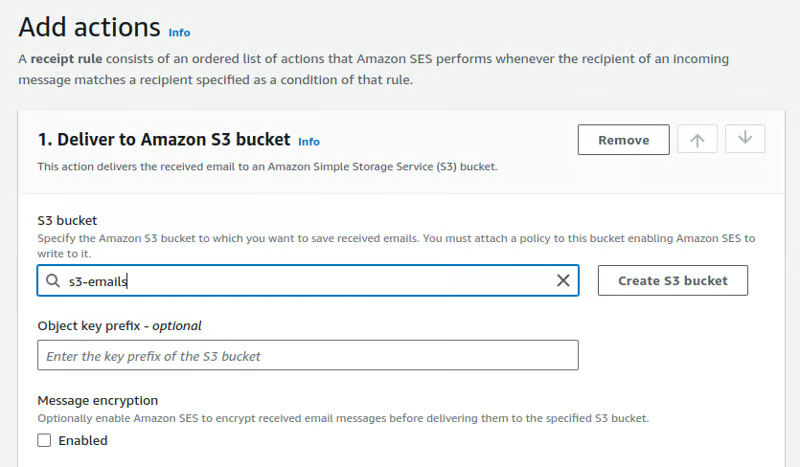
Configure the S3 Action in SES :
- In your receipt rule, choose the “S3” action. Specify the bucket name, object key prefix (if any), and whether to include the email headers.
Send a test email to your domain and verify that it appears in the specified S3 bucket. You should see an email object in the s3 bucket.
Conclusion
AWS SES provides a flexible and scalable solution for receiving emails, integrating smoothly with other AWS services like S3, Lambda, and SNS. You can tailor SES to fit your specific use case, whether you’re storing emails, automating responses, or triggering notifications. With the steps outlined in this guide, you can set up a robust email-receiving system that meets your needs and scales with your business.